Introduction
Start here to explore Mindomo and learn how to work with mind maps
Introduction
Start here to explore Mindomo and learn how to work with mind maps
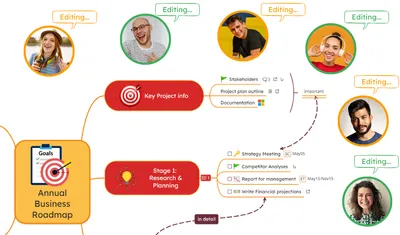
Collaborate
Discover how to collaborate on mind maps with your co-workers using Mindomo.
Present your diagrams
Transform your mind maps into engaging presentations with just a few clicks. Learn how to present your ideas clearly and effectively using Mindomo’s built-in presentation mode.
What is Mind Mapping
Learn what mind maps are, how they work, and why they are such a powerful tool for organizing thoughts, planning projects, and boosting creativity. Visit this page for further details what is a mind mapping.
Changelog
Stay up to date with the latest features, improvements, and bug fixes in Mindomo. Check out our changelog.