Creating mind map templates
A template is a mind map pattern that already contains some data along with guidelines on a particular topic. It is a tool for creating a sketch map for a specific idea, whether related to business, education, or personal use. In essence, a template offers a framework that serves as a starting point for creating a new mind map.
Anyone can create their own map template. If you’re a business consultant, you might need the same basic mind map structure but with different information from multiple clients. Or you might be a teacher who wants to provide students with guidance or suggestions to help them start their own mind maps or become familiar with their structure.
How to create a template
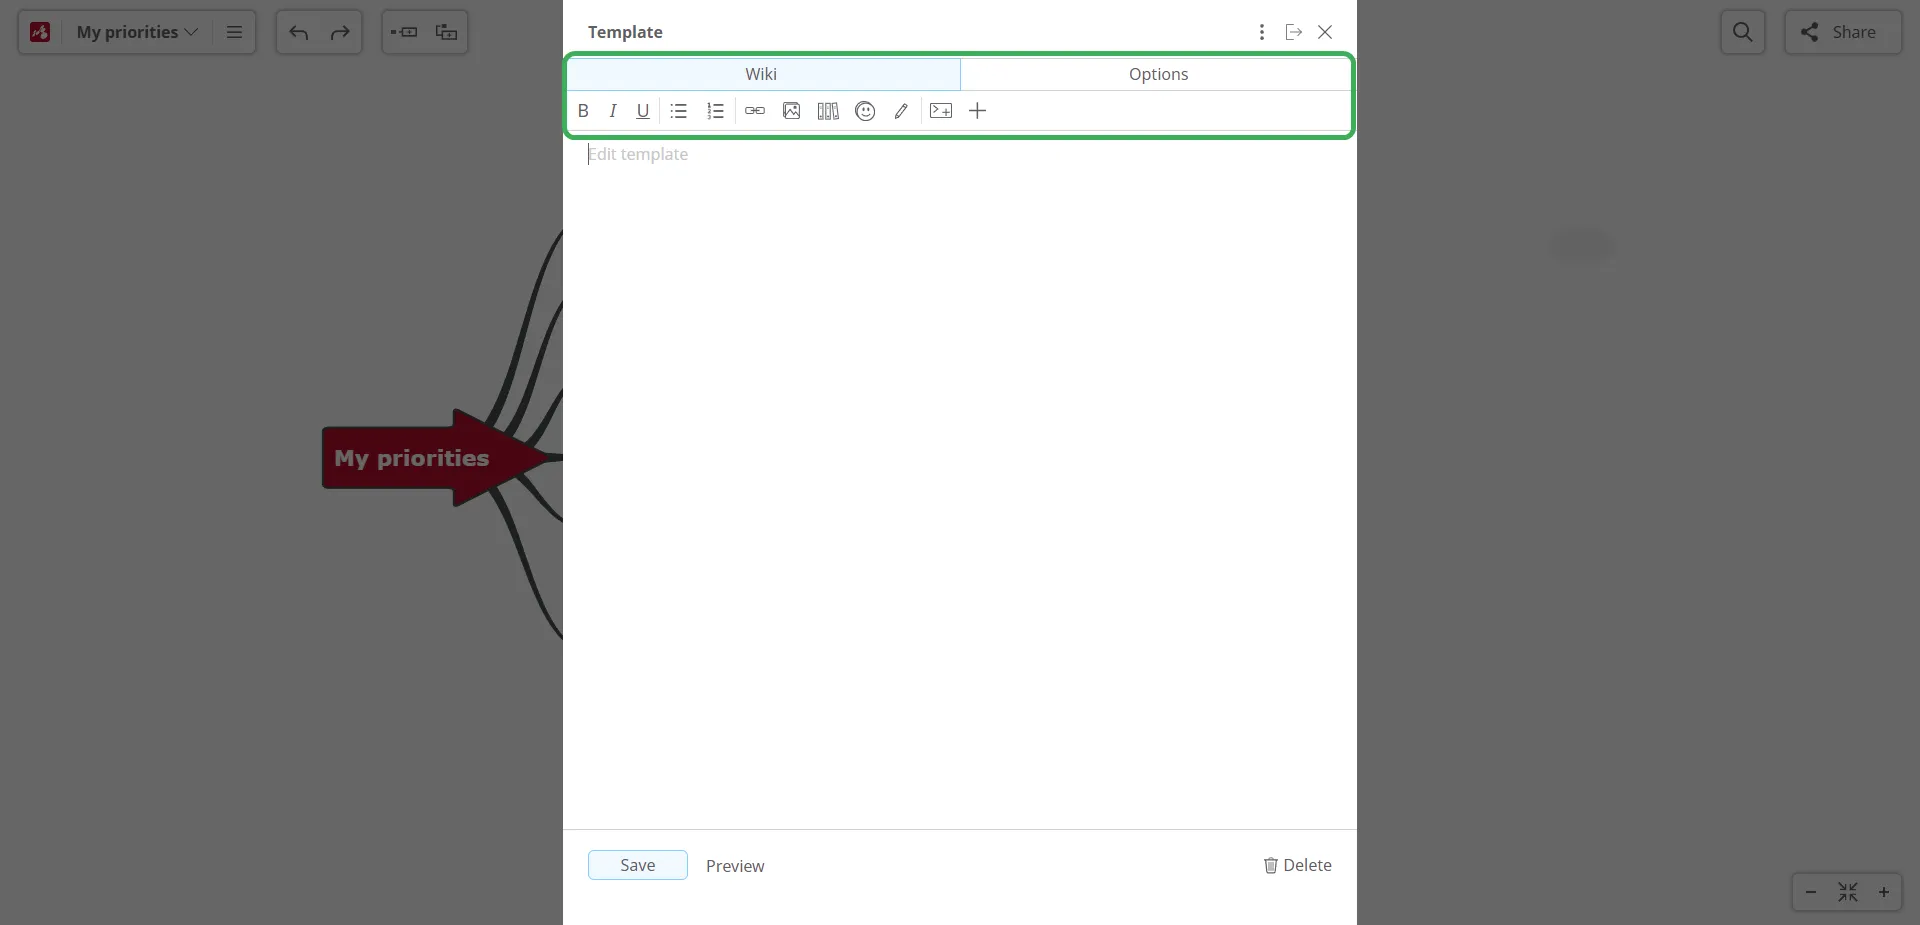
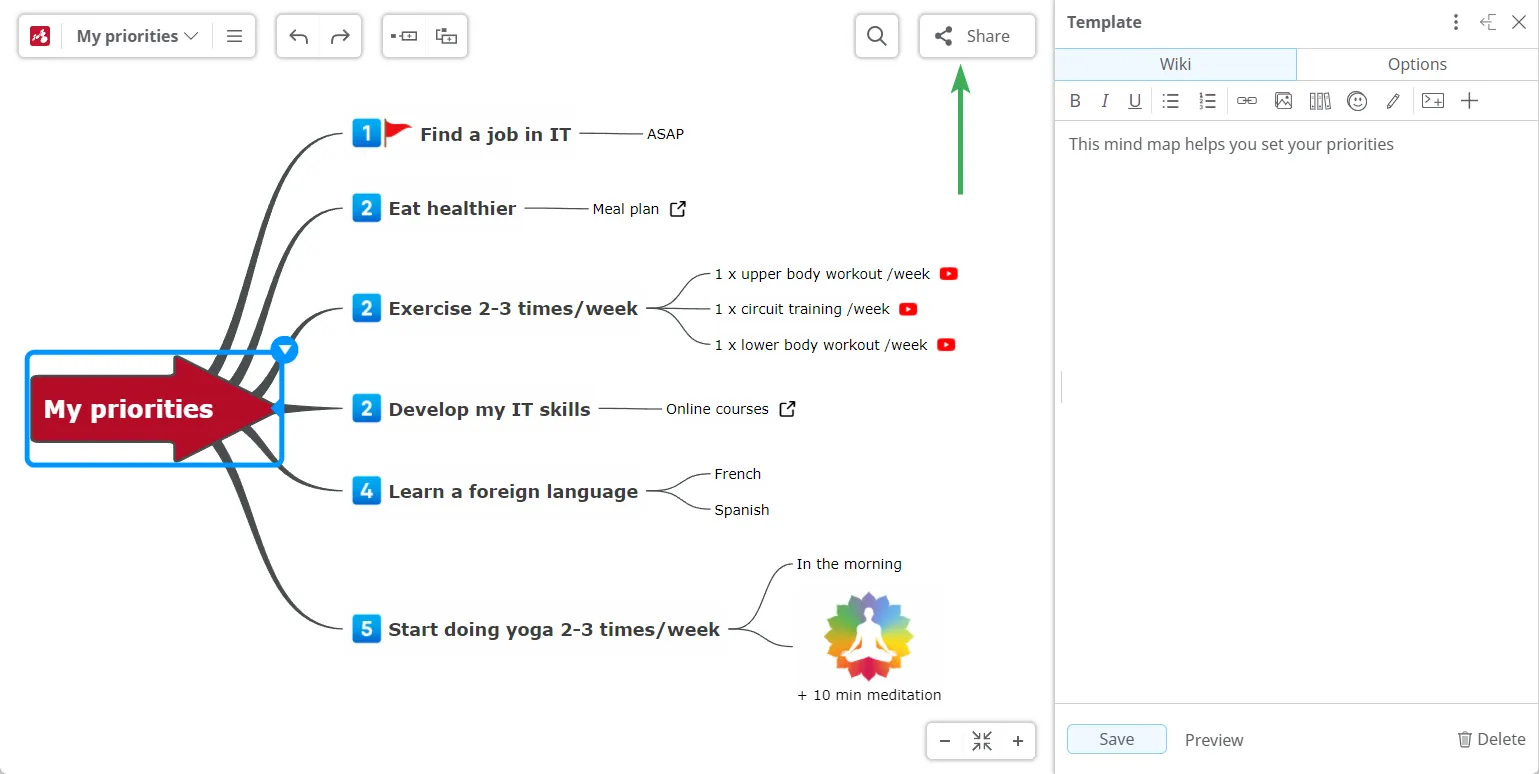
Section titled “How to create a template”Any mind map can be turned into a template. Once you have a mind map structure (topics and subtopics) on your canvas, click the arrow icon in the top-right corner of a topic to open its context menu. Click the More options icon (three dots), select Template, and choose Edit. You can now start adding information and guidelines in the template panel.
The Template Wiki panel can be resized by dragging its left margin or by clicking the Expand/Collapse button in the top-right corner.
After making changes in the Template Wiki panel, click the Preview button to preview and save your changes.
Adding information to the template
Section titled “Adding information to the template”The Template panel has two sections: Wiki and Options.
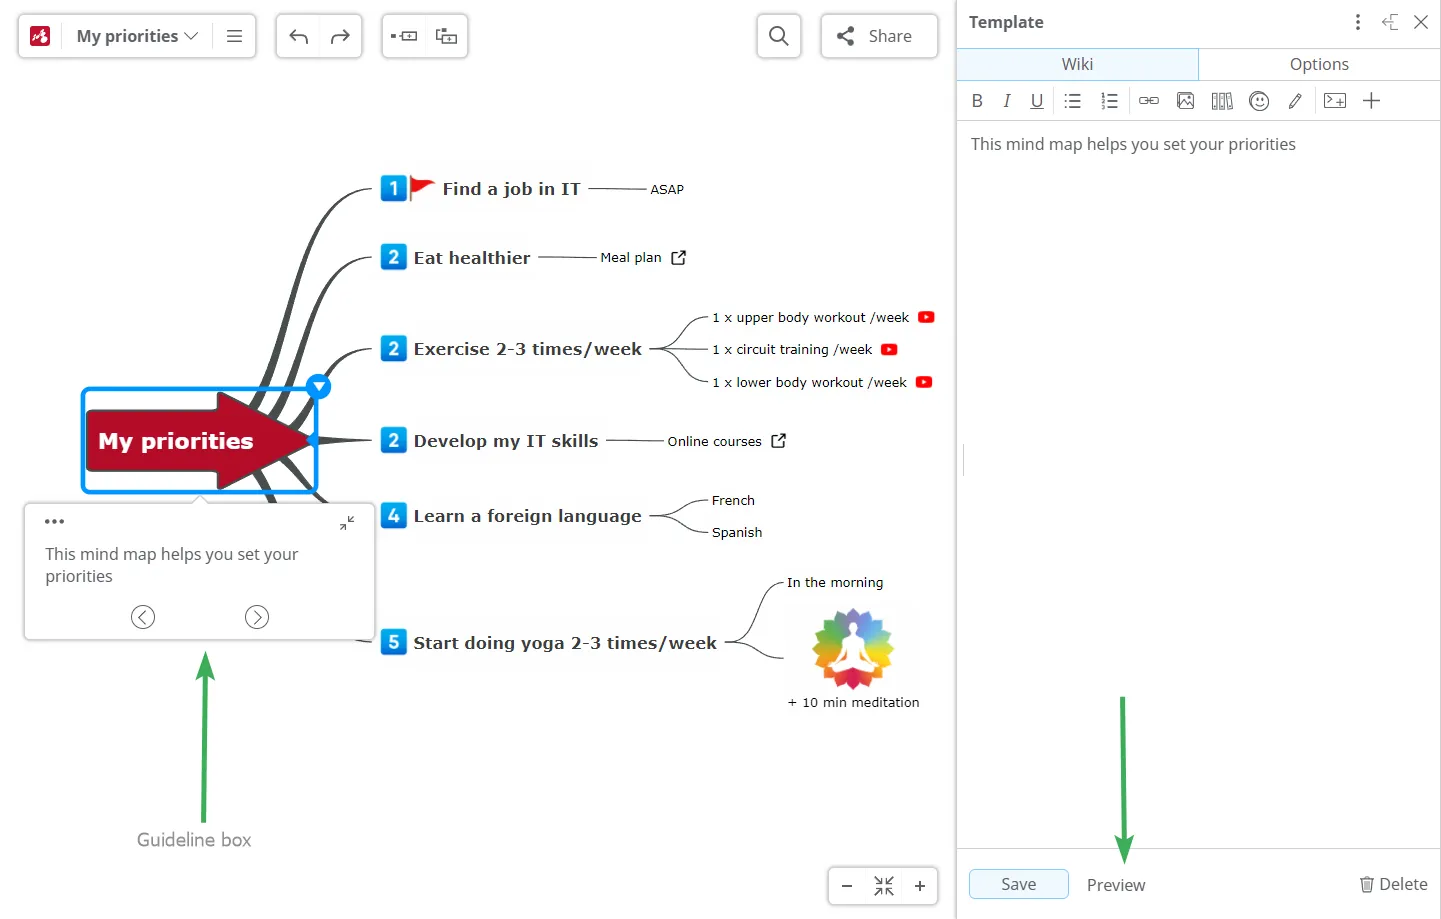
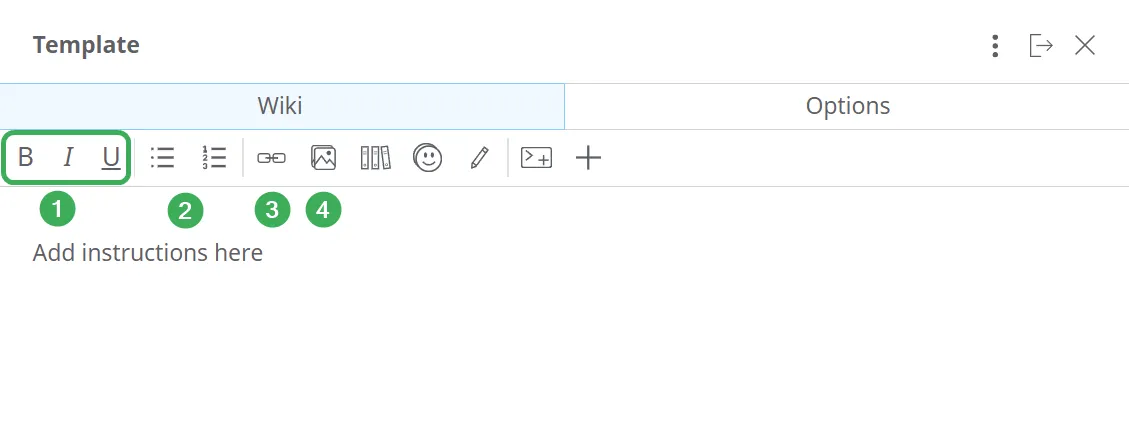
The Template Wiki panel is dedicated to the information (text and multimedia) that appears in the Guideline box. It includes a top toolbar with several options to help you create your template.
-
Select the type of emphasis for your text: Bold, Italic, or Underline.
-
If you want to include a list, choose whether it should be Bulleted or Numbered, then replace the default text with your own.
-
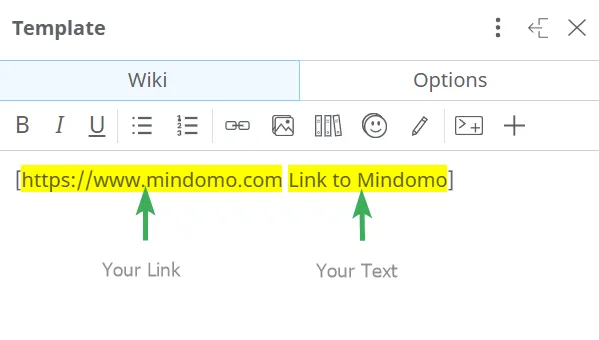
Use the Hyperlink option to insert a link in the Guideline box. Replace the default link with your own, then add the text you want to display. This text will be clickable.
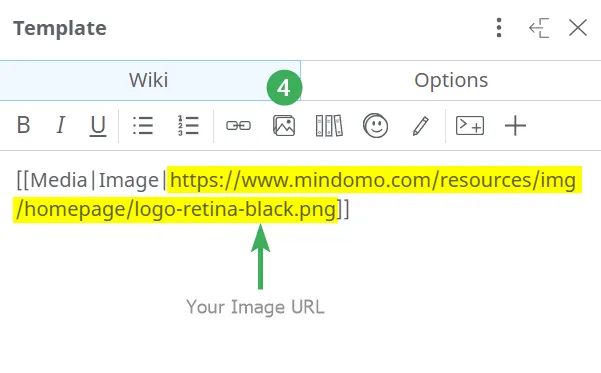
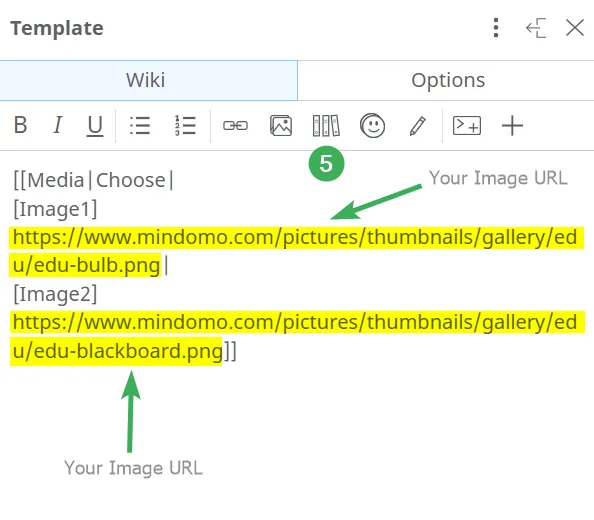
- To add images to your template panel, click the image icon and replace the default text inside the brackets with the image link. Do not delete the text
Media|Image|, which must remain before the link.
- You can create a list of suggested images that the person working on your template can choose from. Replace the default text inside the brackets with the image links.
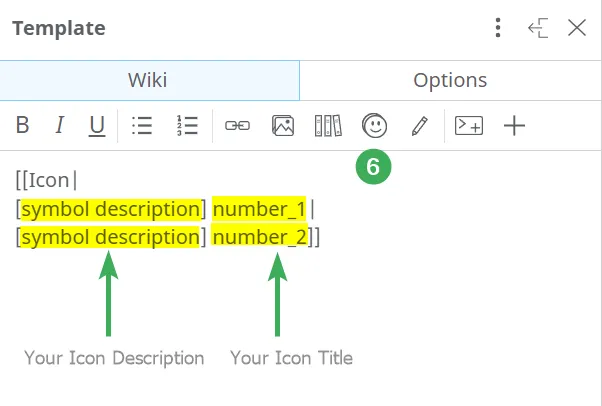
- You can create a list of suggested icons. Replace the default text in the brackets with your desired description and replace the default icon title with the icon name you want to add. Separate suggestions using the
|character.
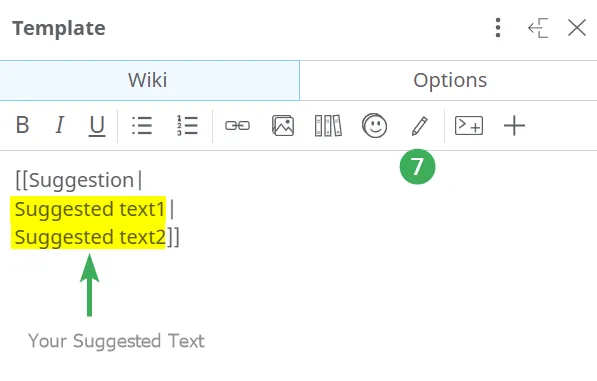
- Click the pen icon to create a list of suggested text entries. Replace the default text inside the brackets with your content, separating suggestions using
|.
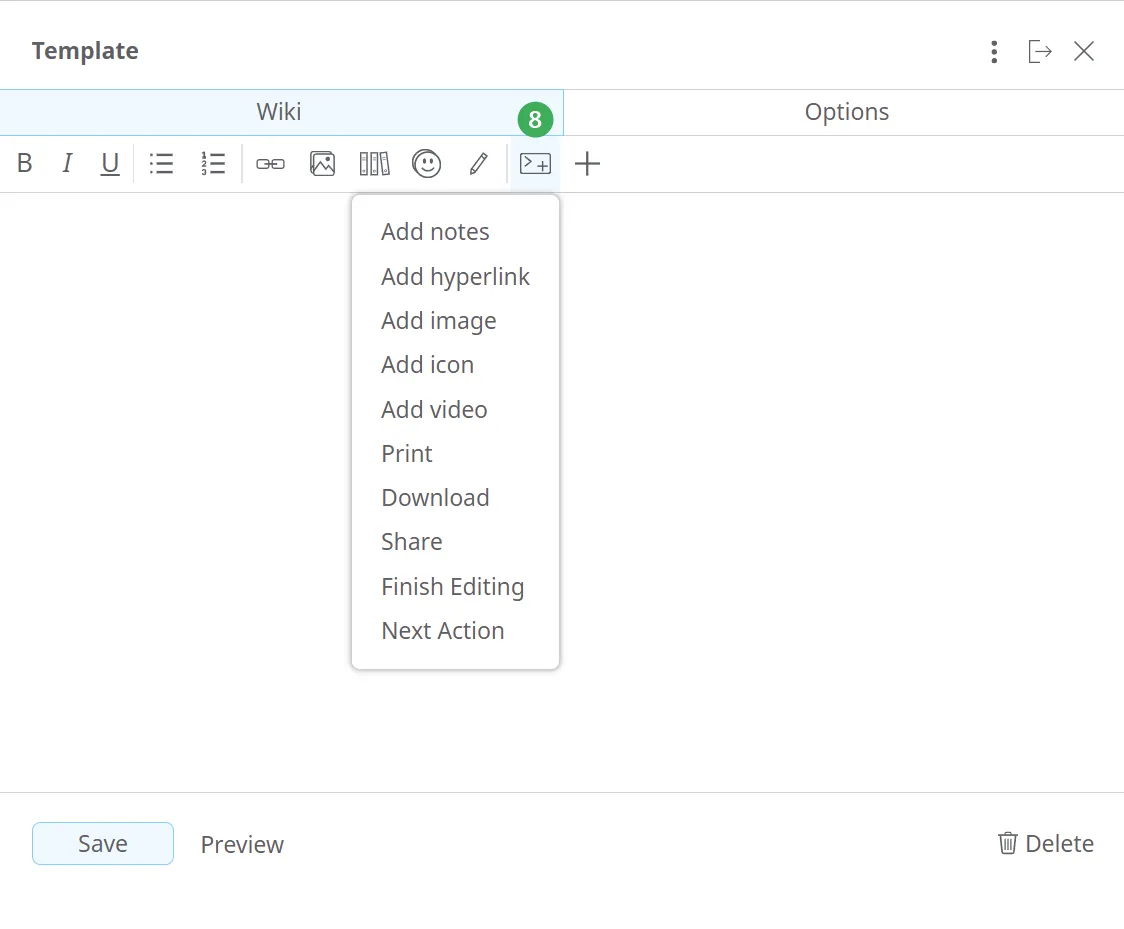
- You can add commands to the template by clicking a command from the list. When a user clicks a command, a panel will open allowing them to perform the corresponding action (add notes, add hyperlinks, add images, add icons, print the map, etc.).
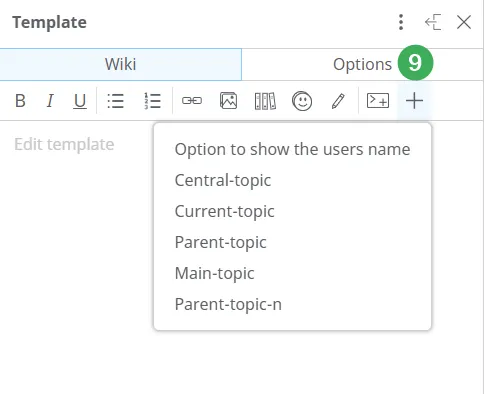
- The plus icon allows you to reference text. You can reference specific topics from your template or the user editing the template (by displaying their username).
Normal and Input topics
Section titled “Normal and Input topics”Depending on whether the person using your template needs to enter content, there are two types of topics:
-
Normal topics are descriptive and do not require user input.
-
Input topics contain placeholder text that must be edited and filled in. The placeholder will be replaced with the content entered by the user.
Adding template topics (default branches) and setting template options
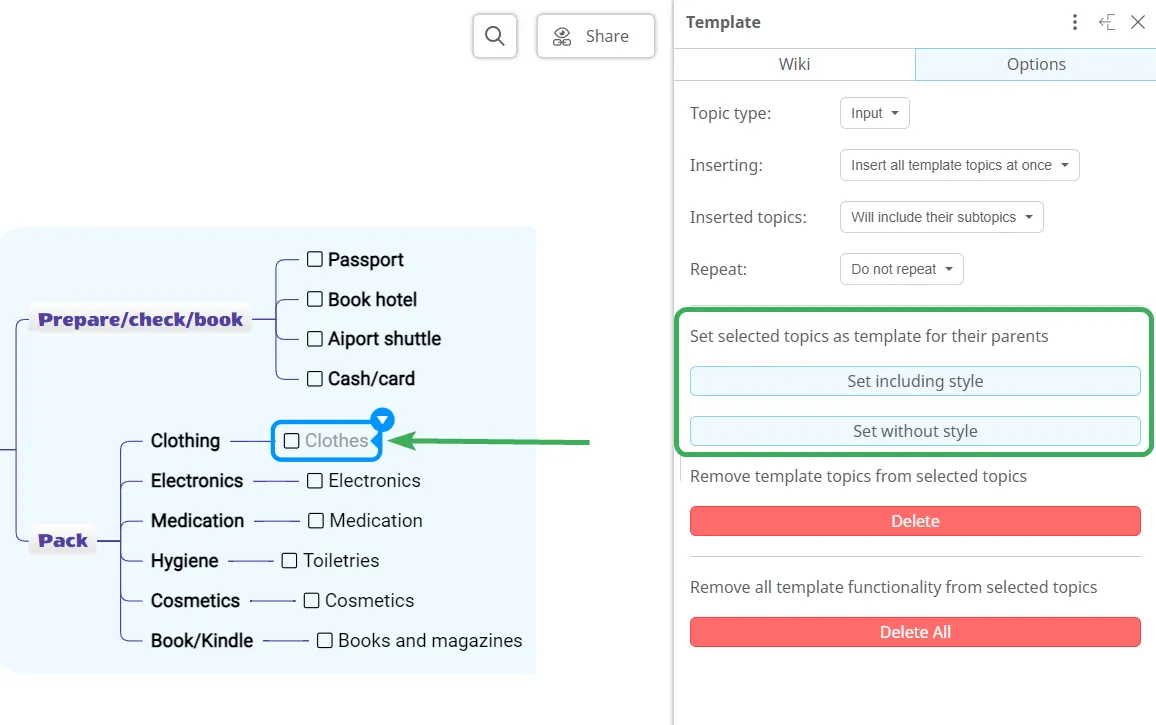
Section titled “Adding template topics (default branches) and setting template options”You can add Template Topics (which include one or more topics and subtopics) to allow multiple answers for a specific element of your mind map template, such as lists or enumerations.
Select the topic, subtopic, or branch you want to set as a Template Topic. Then go to the Template Options panel and customize it.
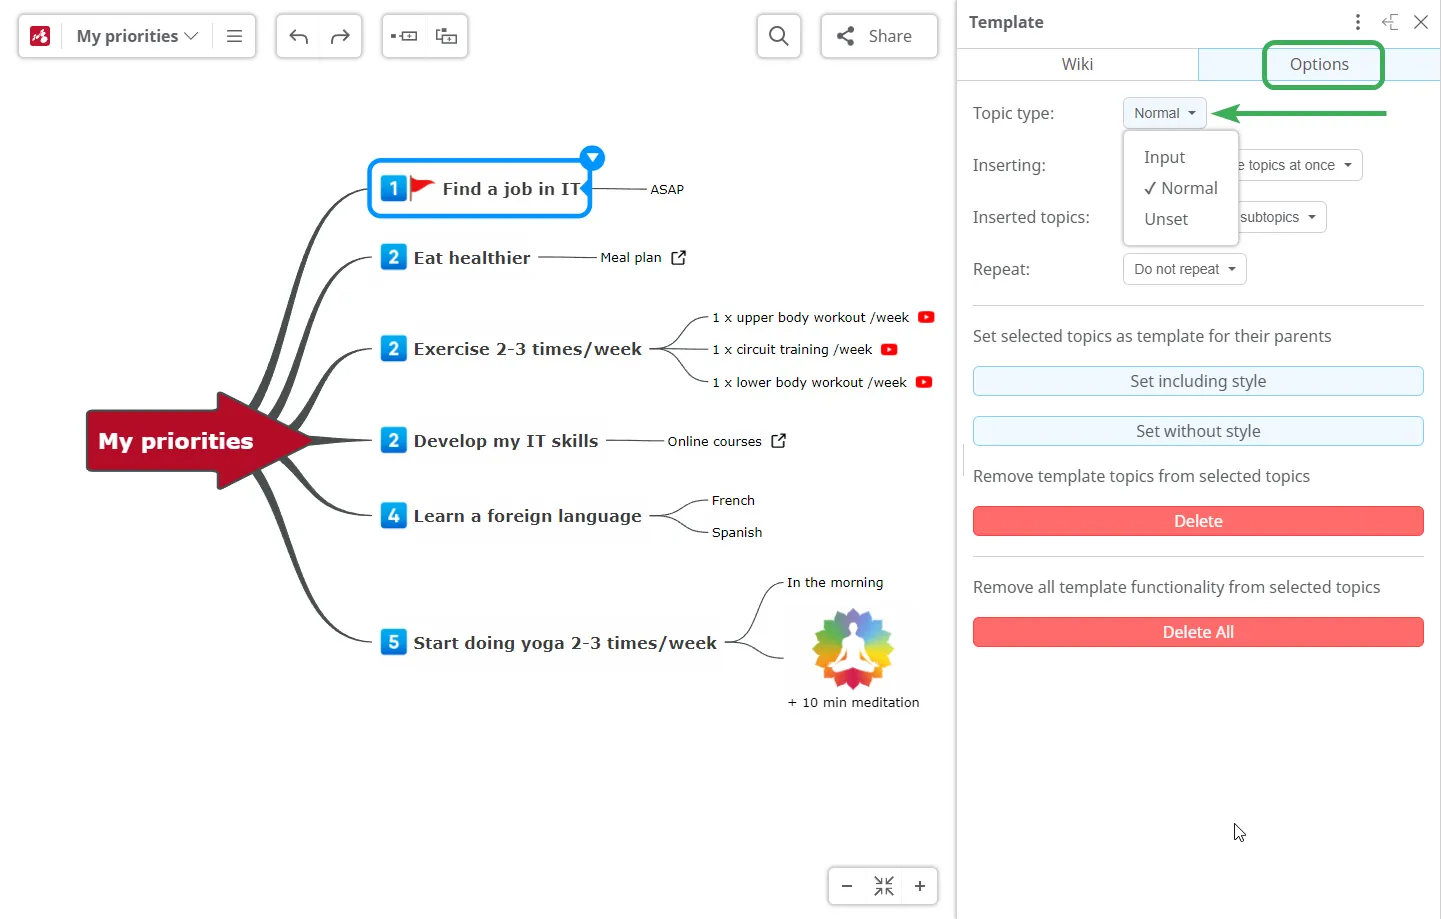
1. Topic type
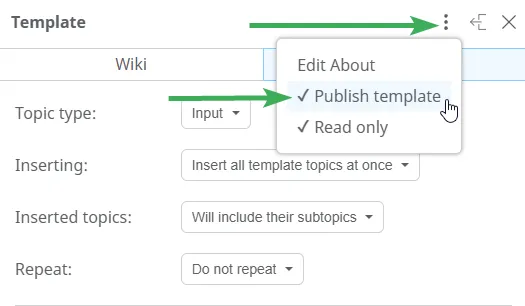
Section titled “1. Topic type”Select the topic type: Input or Normal.
- Input topics contain placeholder text that users must replace.
- Normal topics are fixed and define the structure of the mind map.
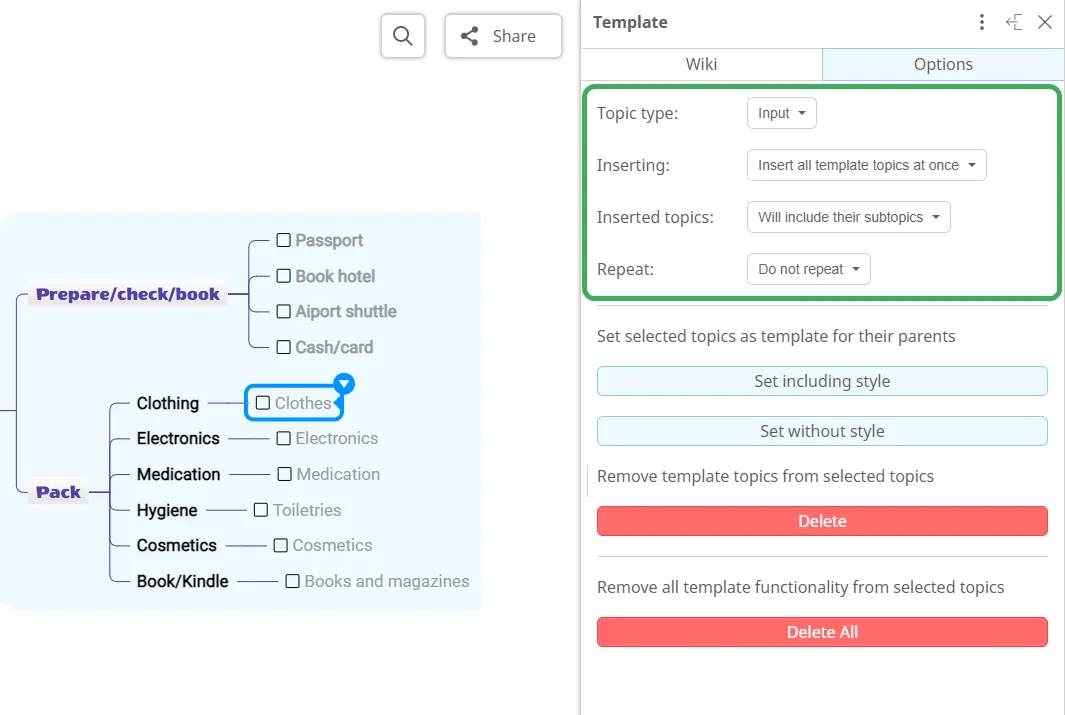
2. Inserting
Section titled “2. Inserting”Choose how Template Topics should be inserted: all at once or one at a time.
If you select Insert all template topics at once, all included topics and subtopics will be added together. If you select Insert all template topics one at a time, they will be added individually.

3. Inserted topics
Section titled “3. Inserted topics”Choose whether subtopics should be included when inserting a Template Topic.
- Will include their subtopics adds both the parent and its subtopics.
- Won’t include their subtopics adds only the parent topic.
4. Repeat
Section titled “4. Repeat”Choose whether the last-level subtopic should repeat.
This option applies only to the last child topic. Selecting Repeat as subtopic allows it to be repeated with each insertion.
To apply Template Topics, click one of the following options:
- Set including style (keeps colors, shapes, fonts, sizes, etc.)
- Set without style
Template Topics will automatically appear when inserting new topics. You can modify them later.
Edit About page
Section titled “Edit About page”To edit the About page shown in view mode, click the More options icon and select Edit About.
Here you can add a short description explaining what the template is about and how it helps contributors.
Publishing templates
Section titled “Publishing templates”To share your mind map template, you must publish it first. Open the Share panel, click Change, and select Anyone with the link can view. Make sure Can copy is enabled.

Then open the More options menu and enable Publish template and Read only.
- Publish template enables all template functionality.
- Read only prevents users from editing template options.
Once published, you can share the template URL. It will open in view mode, and users can create their own copy by selecting Copy and edit from the file menu.