Canvas Integration
This guide walks you through the process of adding Mindomo to your Canvas courses, enabling seamless integration of interactive mind mapping tools for both instructors and students. Once installed, Mindomo can be accessed directly within Canvas to enhance assignments and collaborative learning activities without requiring separate logins.
Add Mindomo To Your Courses
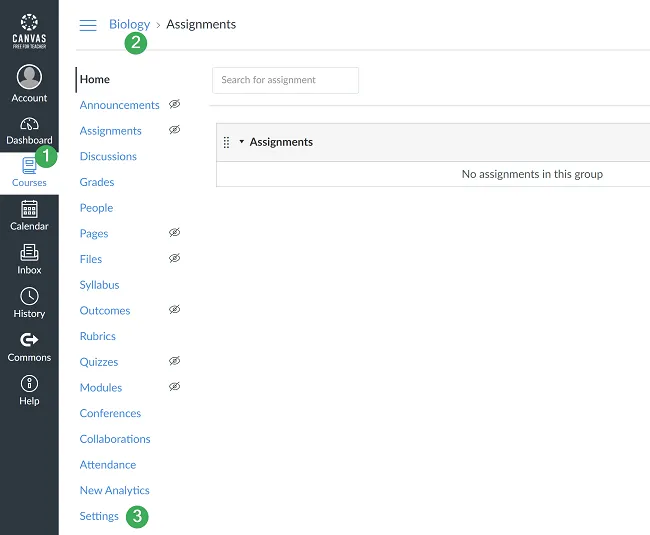
Section titled “Add Mindomo To Your Courses”Step 1. Go to the “Courses” section (1), then choose the course where you want to install Mindomo (2), and go to “Settings” (3).
Step 2. In the “Course Tools” section, go to “Apps” (4), filter by name, and type in Mindomo (5).
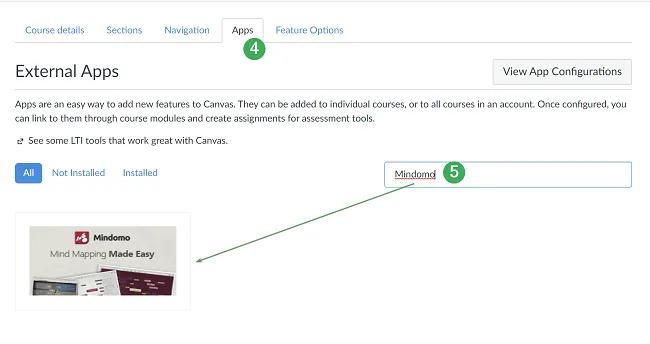
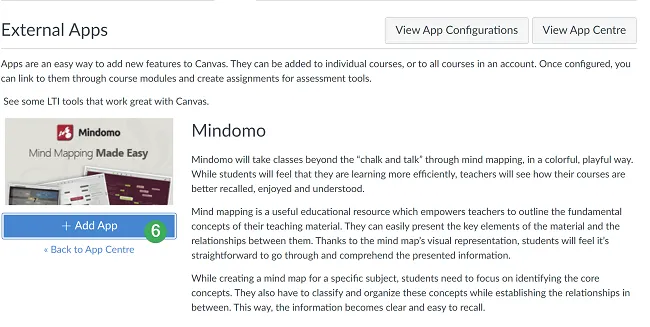
Click on “Add App” to add Mindomo to your course (6).
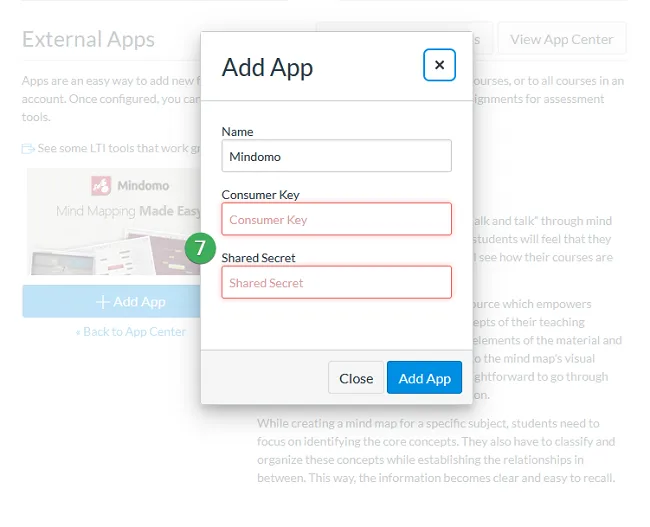
Step 3. Add the “Consumer Key” and “Shared Secret” (7) provided by Mindomo, and click on “Add App”.
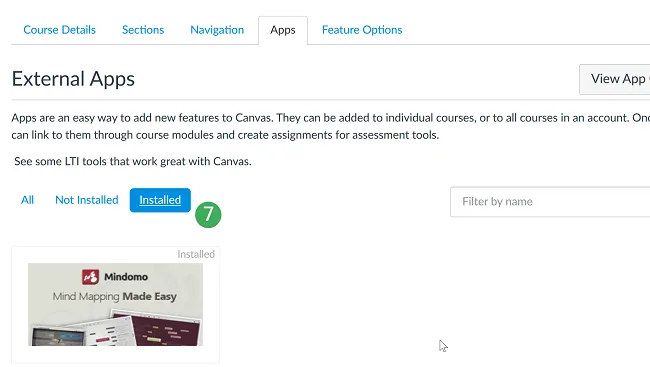
You will find Mindomo in the “Installed” section (7).
Connect Mindomo to your account
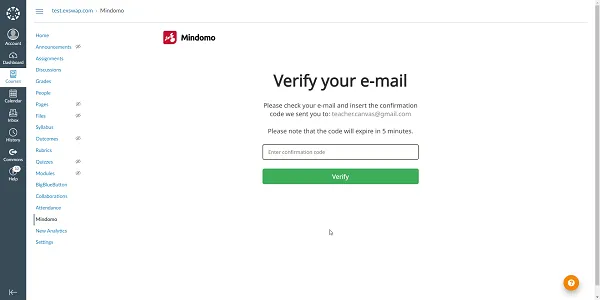
Section titled “Connect Mindomo to your account”Registered in Mindomo with the same e-mail you use in Canvas?
If you already have a Mindomo account registered with the same email address as your Canvas account, a verification code will be sent to your email for confirmation. Insert the code in the box to link the two accounts. This request will appear only once when first accessing Mindomo from Canvas.
If you do not have a Mindomo account yet, one will be created automatically for you.
Working with Mindomo
Section titled “Working with Mindomo”Working with Mindomo explains how teachers and students can access and use Mindomo directly within Canvas, attach mind maps to assignments, and submit or collaborate on maps without separate logins.
Access Mindomo directly from Canvas
Section titled “Access Mindomo directly from Canvas”When teachers and students access Mindomo from Canvas, their Mindomo accounts will be automatically created, allowing them to start mind mapping without any additional login.
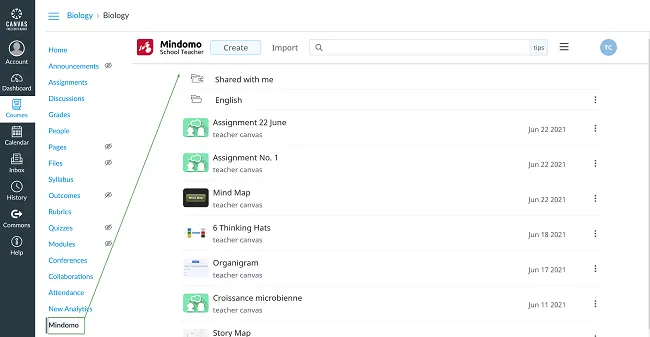
Once Mindomo is added as an external learning tool in Canvas, a link to Mindomo will appear in the left toolbar. Accessing it will automatically take teachers and students to their Mindomo accounts without needing to create accounts or log in.
Attaching mind maps to your assignments
Section titled “Attaching mind maps to your assignments”You can add mind maps to your Canvas assignments. This way, students can view and edit the maps without having to create separate Mindomo accounts or log in independently.
This method of attaching a mind map to your Canvas assignment is different from simply embedding the map.
While embedding:
- You need to make your map public (accessible to anyone with the embed link).
- Your map can only be viewed, not edited.
While attaching a map through LTI:
- Your map remains private, and the students/teachers who have access to your Canvas assignment will be able to view or edit it without you explicitly sharing the map with them.
- If your students or teachers do not have Mindomo accounts, new accounts will be created for them automatically when accessing the attached Mindomo map.
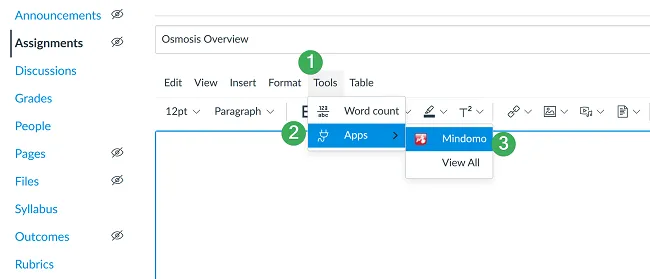
Create an assignment and add a mind map to help students understand the information and/or requirements better. Go to Tools (1) > Apps (2) > select Mindomo (3).
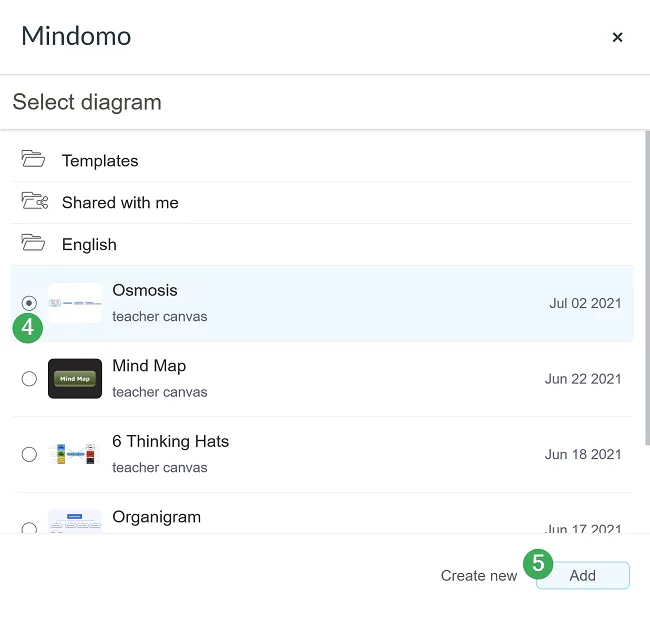
Clicking on the Mindomo icon will take you to your Mindomo Dashboard. After selecting the map (4), add it to the assignment (5).
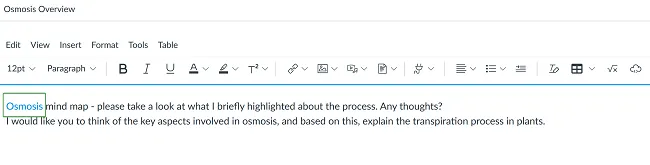
The mind map you added will appear as a link in the assignment’s description.
Your students will automatically receive access to view the map. When done editing the assignment, click on “Save & publish”.
Mind maps as homework submissions
Section titled “Mind maps as homework submissions”This method allows students to access Mindomo directly from Canvas, create their mind maps, and submit them to complete their Canvas assignments.
How to set up this type of assignment?
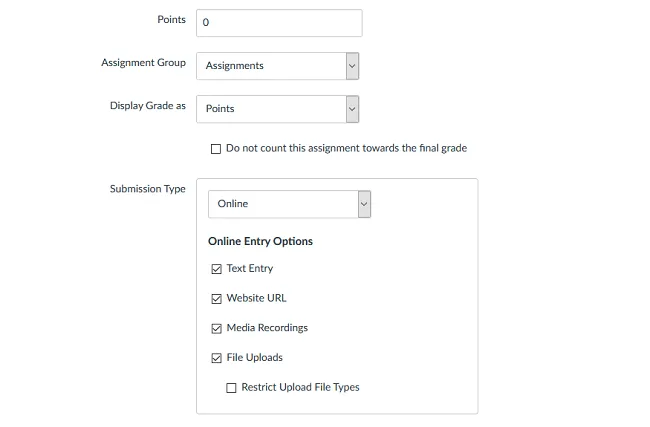
Edit the assignment by setting up a title and a description, then make sure to check the options under “Submission Type”, especially “Website URL”. Finally, click “Update Assignment”.
You will be able to view the students’ submissions by accessing the assignment and clicking on “SpeedGrader”.

How will students view and work on the assignment?
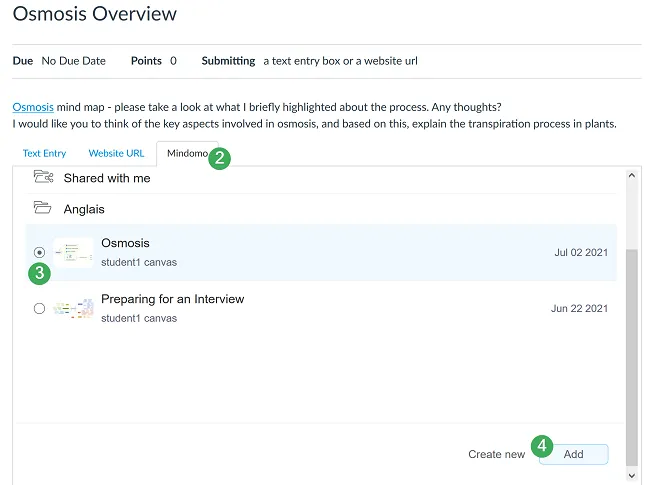
When students access the assignment, they must click on “Submit Assignment” (1) to submit their maps.
After that, they will click on the “Mindomo” tab (2), choose one of their maps (3), click on “Add” (4), and finally click “Submit Assignment”.
Mind Map-based Assignments
Section titled “Mind Map-based Assignments”Students can work individually or in groups to create mind maps on various subjects covered in your Canvas courses. Students can work on these assignments directly from Canvas without having to create accounts or log into Mindomo. Teachers can access students’ mind maps directly from Canvas.
How to set up an integrated Mindomo Assignment?
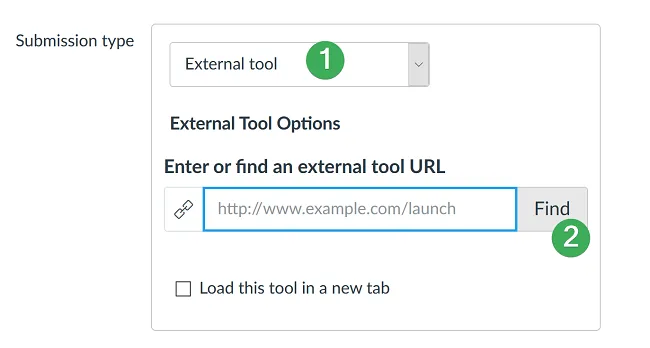
Create a new assignment and edit it by adding a title and description. Check “External Tool” (1) in the “Submission Type” section and click on “Find” (2).
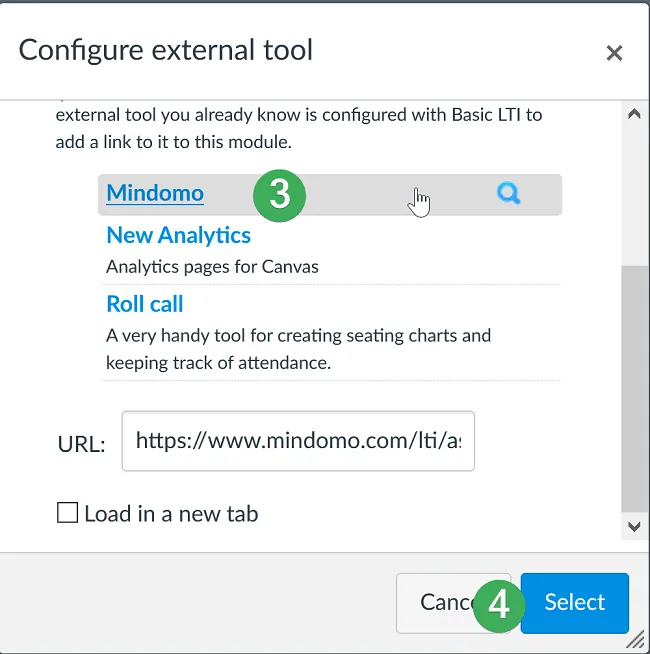
Click on “Mindomo” (3) and when the URL is automatically set below, click “Select” (4).
Once you click on “Save & publish”, the assignment will be created in both your Canvas and Mindomo accounts. Choose the assignment type (5) and click “Update” (6).
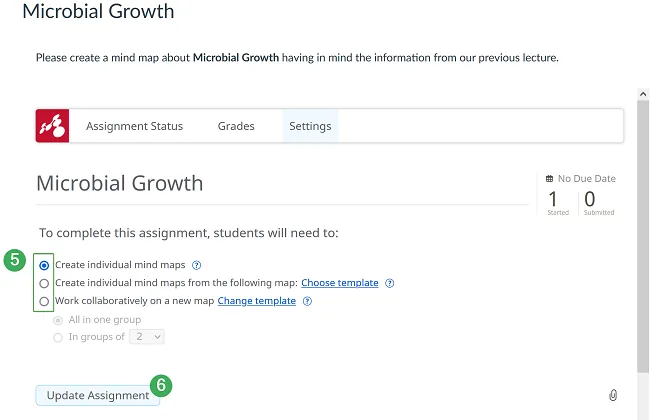
The different assignment types allow students to:
- Create individual new mind maps based on the assignment requirements.
- Create individual mind maps starting from a map template shared by you.
- Work collaboratively to create their mind maps, either from scratch or from a shared template.
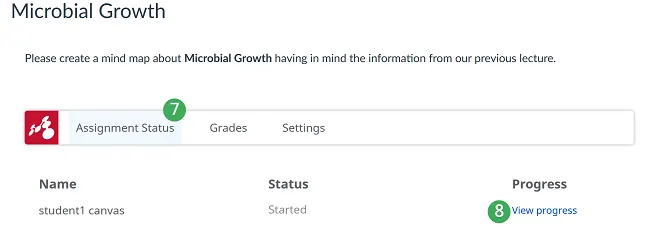
Each time you access the assignment, you will be directed to the “Assignment Status” (7) section to “View the progress” (8) for each student.
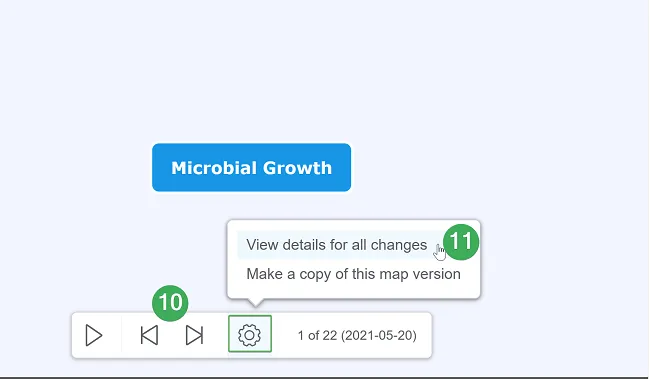
Click the Play button (9) to enter Playback mode and review all changes made on the map.

The Rewind and Forward buttons (10) will take you to the beginning and end of Playback mode. For a more detailed view, click the Options button, then “View details for all changes” (11).
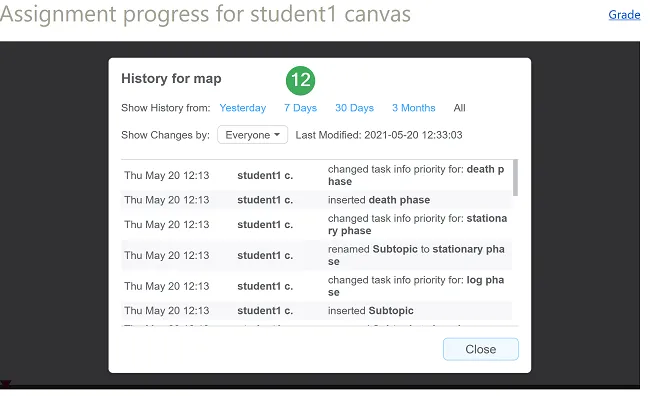
This provides a clear overview of the map’s history (12). You will see all map changes sorted chronologically by date and the exact date of the last map change. You can filter students by name to see exactly how they updated the map.
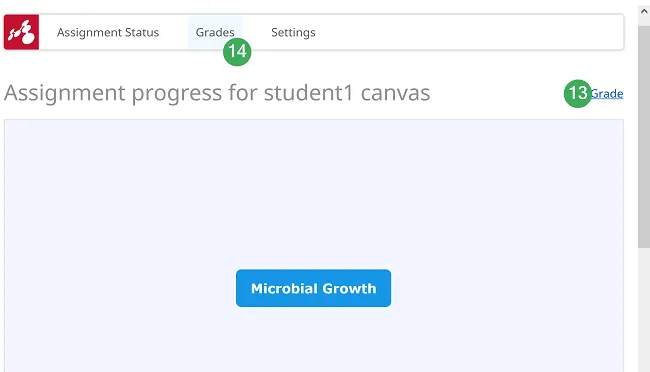
You can grade each student’s performance (13) and see all grades for all students (14).
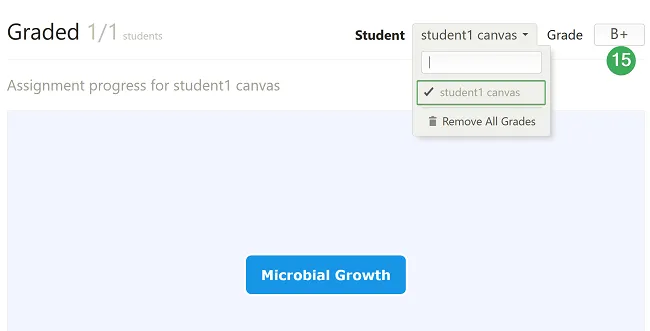
Students are graded individually by selecting each student from the list and filling in the grade in the grading box—both letter and number grading are available (15). Students who already received a grade will appear highlighted with a checkmark.
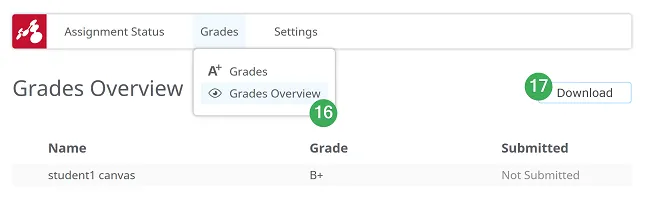
To see all grades and download a grading report, go to “Grades”, “Grades Overview” (16), and click “Download” (17).
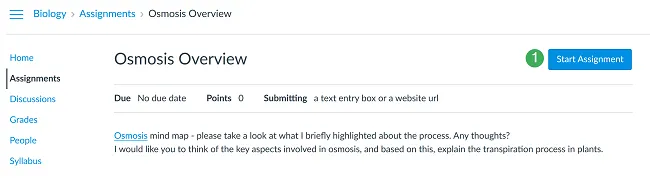
How will students view and work on the assignment?
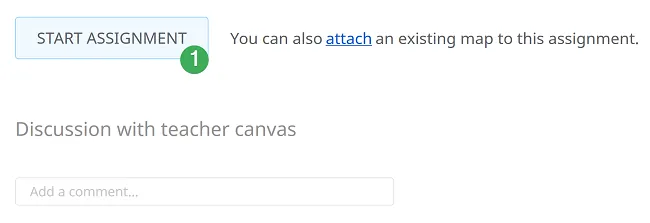
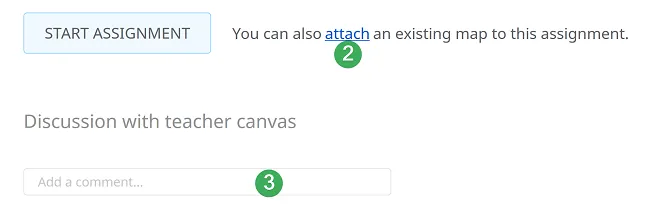
When students access this assignment for the first time, they must click “Start Assignment” to begin their work (1).
Once they start the assignment, they will be automatically sent to a new map based on the assignment’s settings. If selected, the map can open in a new tab, so students won’t leave Canvas.
Students can also attach a map they have already created (2). If they have questions about the assignment, they can discuss them with the teacher (3).
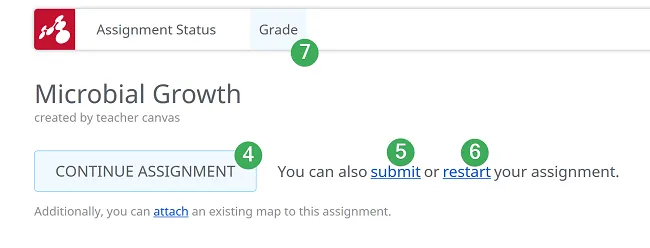
When students return to an ongoing assignment, they must click “Continue Assignment” (4). When ready, they can submit it (5). Students can restart their assignment at any time (6), but previous work will be lost—they will be notified before restarting.
Students can check their grades (7) at any time.